Welcome! Here are a few short articles that might help you get up and running quickly with Apsona for Salesforce.
Installing Apsona for Salesforce #
To install Apsona for Salesforce:
- Install from the AppExchange page. Visit our AppExchange listing and click the Get it Now button on that page. Then proceed through the screen steps which appear. We suggest that, in doing so, choose to allow access to all users instead of just administrators, because that choice makes it easier to assign licenses to non-administrators later.
- Make the Apsona tab visible. A quick way to do this is to go to the App Launcher, type in “Apsona” in the quick find bar, and click “Go” to go the Apsona tab. To add the Apsona tab to your default menu bar:
- In Classic, click the ‘+’ sign at the top right of the Salesforce menu bar, and then click the “Customize my Tabs” button. Then select the Apsona entry from the list on the left side and move it to the right side. See how.
- In Lightning, click the pencil icon at the top right of the Salesforce menu bar, and then click the “Add More Items” Button. Under “Available Items”, select “All” and search for “Apsona”. Click “+” next to Apsona to add it to the menu bar.
- Assign licenses to users. Click Setup – Installed Packages and then click the Manage Licenses button next to Apsona for Salesforce. On the screen that now shows, select the users to whom to assign Apsona licenses. See how. Note that the “Manage Licenses” feature is not available in sandboxes.
Installing in a sandbox org #
If you’re having trouble installing in a sandbox, you can try using the following URL in which you replace the OrgDomainName with your sandbox org’s “my domain name”:
https://OrgDomainName.my.salesforce.com/packaging/installPackage.apexp?p0=04t3c000001F1oj
Also note that in a sandbox org, the “Manage Licenses” feature will not be available in Salesforce Setup, unlike in a production org. Therefore, your administrator will need to manually assign access rights to the profiles that will need Apsona for Salesforce:
- Provide the profile with Edit and Delete access to the Apsona Item object, and
- Make the Apsona tab visible to the profile.
Providing access to users #
As an administrator, you will have the ability to access all your native as well as custom objects through Apsona. But you will need to set up access for those non-administrator users who also need access, and they are seeing issues, you might fix them via the steps described here. If you run into Salesforce errors about insufficient privileges, we have some documentation that can help.
Access to custom objects #
Apsona for Salesforce installs with a default set of objects, typically without the custom objects in your org. To make those custom objects available in Apsona, you create an Apsona Configuration. Watch this video (6 min) for a quick look at the process. Here is a brief summary.
- Hover your mouse over the Settings menu and click Configurations.
- In the list that appears on the left side, click the “Default Configuration” row.
- In the panel on the right, click the “Clone” button. A popup window appears.
- In the popup window:
- Select “System Administrator” (or whichever is your profile) as the choice in the “For profile” dropdown.
- In the list of “available non-visible” objects on the left, double-click the ones you wish to be available to you, so that they become visible.
- Click Next twice.
- In the “Setup menu bar” tab, double-click the objects on the left that want to appear in your menu bar.
- Click “Save”.
- Now hover over the Settings menu and click “Clear cache” so that your changes take effect.
For full details about configurations and menu bars, please view the configuration documentation.
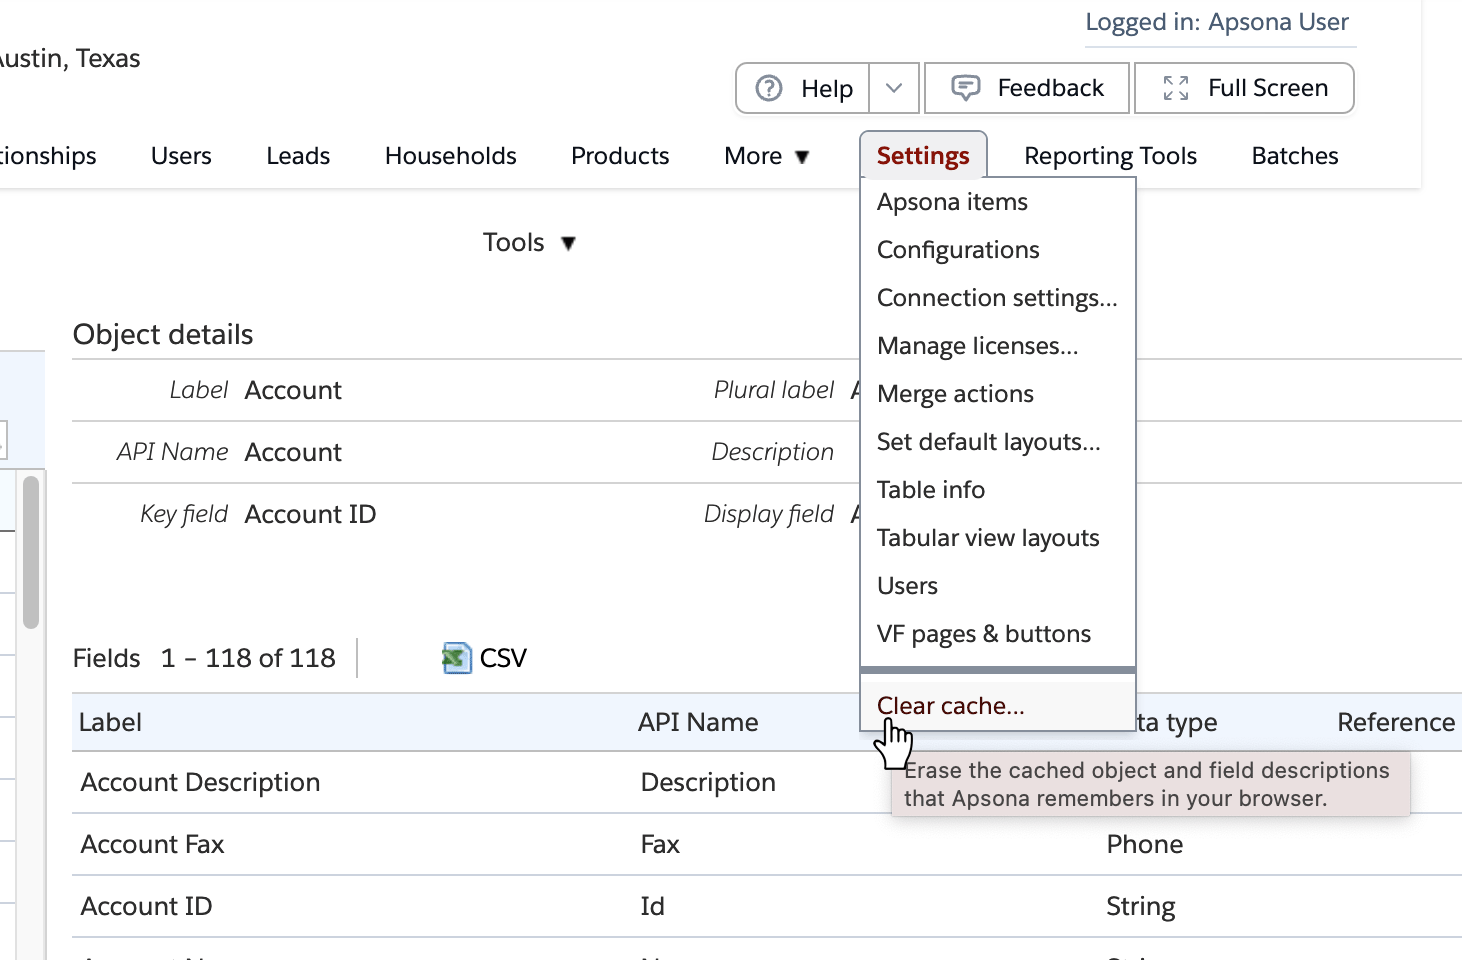
Clearing the Apsona cache #
During the initial setup phase, you will make updates to your configuration or layout, and when you do so, you must tell Apsona to clear its cache so that it re-learns your choices. You can clear the cache by clicking Settings – Clear cache. Make sure you do this each time add or remove a custom field or custom object, or add or remove a picklist value. More details about Apsona’s caching are available.
Searching for data records #
Each of the object menus includes a “Filter” dropdown, from which you can select “New filter…” to set up a new search condition. You can then save that search condition as a filter. The search and filter capability is very powerful, and is described in detail.